
Get started with a
Significant Ad Budget
Google Ad Grants
Google Suite Team Lead: Rev. Jean-Marie Schweizer

Overview
Google offers nonprofit organizations a significant grant (up to $10,000/month) to run ad campaigns via their advertising products (e.g., Google Adwords, Good Adwords Express). Several steps are included to activate this grant.
Step 1: Google Suite for Nonprofits
The first step is to create Google Suite for Nonprofit account, which requires in itself several steps, such as
Getting your own domain name (e.g, yourdomain.org).
Getting approved as a 501(c)(3) nonprofit organization by TechSoup.
Find more information how to create a Google Suite for Nonprofit account here.
Step 2: Setting Up Google Grants

The screen you should see after completion of application process.
Once you have a Google Suite for Nonprofit account, go to google.com/grants and sign up using your Google Suite email account. There are several videos guiding you through this process, such as
assigning yourself as the administrator to Google Grants,
linking your TechSoup account to Google Grants with you TechSoup Validation Token,
and requesting access to the grant.
You will be informed via email about the progress of your application. Upon completion, you should be able to get started.
Approval of Eligibility

After getting started, you are asked to complete an Ad Grants eligibility form, which will take about 10 to 15 minutes, including watching an informative video to answer a few quiz questions.
After completion of the form, check the checkbox and click “Activate.” It will take up to three days for the Google team to review your activation request.
Once reviewed and approved, you’ll receive an email with a link to get started with your Google Ad account that is linked to your Google Ad Grant.
Step 3: Setting Up Your Campaigns
Once the approval has gone through, it should be straight forward from here on out, including
following the videos and articles how to set up a campaign,
updating your website with injection code to make sure your ad tracking works,
and monitoring your ad campaigns as to their feasibility.
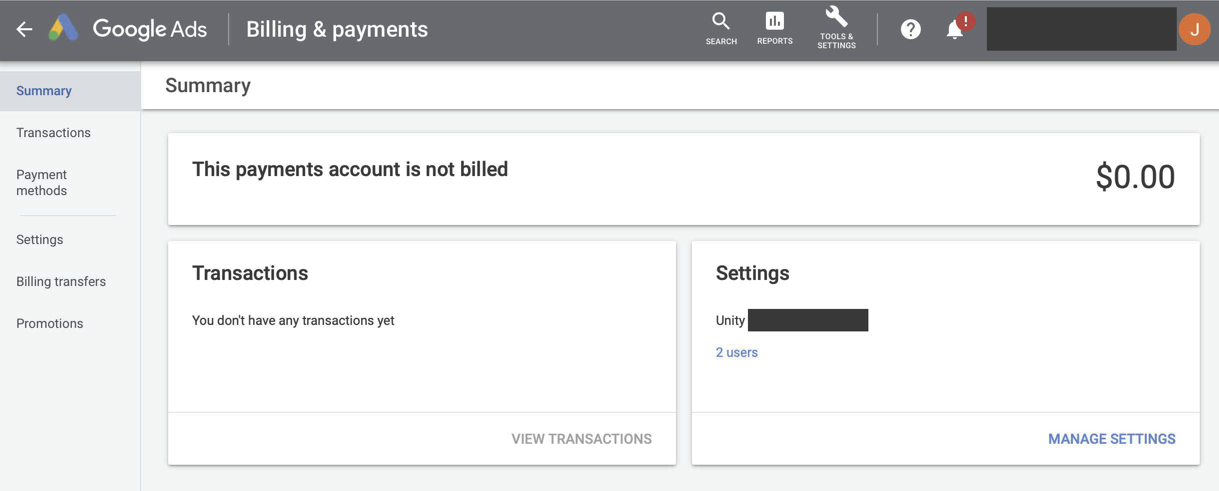
Once logged in and setup, you might want to get in touch with Google to ensure that your account is correctly link to the grant. One sign a Google Ad Grant supporter shared with us to check is under Tools & Settings, Billings & Payments, and Summary. If it says “This payments account is not billed” (see picture below) you should be good spending the granted amount without being charged. However, make sure you get this confirmation yourself rather than relying on this information from this information.
The UWM Tech Team is not responsible for the granting and setting up process.
Getting Help
If you need any additional help in this setting up process, we recommend you reach out to the Google Ad Grant team via the support (?) options. They are not only responsive but well-trained and can likely help you in most cases.
Make sure you have your contact details available for them as they might want to call you instead of writing emails back and forth.
Google Ad Grant – Detailed Outline
The following detailed outline, created by Rev. Shad Groverland may be helpful in addition to or as an alternative of the above.

created by Rev. Shad Groverland